Tuesday, August 19, 2014

Weekend Prep

Writing this using the new tablet.  It is a challenge to write like this.   Texting isn't really my thing.  I still plan to get a stylus.  But, man, this thing needs to learn its autofill a little better.  It doesn't guess the words until after I've already typed the whole thing.
I wanted to share some of the things I've worked on this weekend.  Must see how easy it is to post a blog here and share pictures....  Here goes.

Not everything I posted from the Blogger app uploaded here.  I think due to my ISP timing out.  I had gone into detail about the journals I made and there were two more pictures that didn't post.  I'll have to retry with that here, but from the computer now.  It is still hard for me to type all that on such a tiny keypad.  I am a clacky typer!  

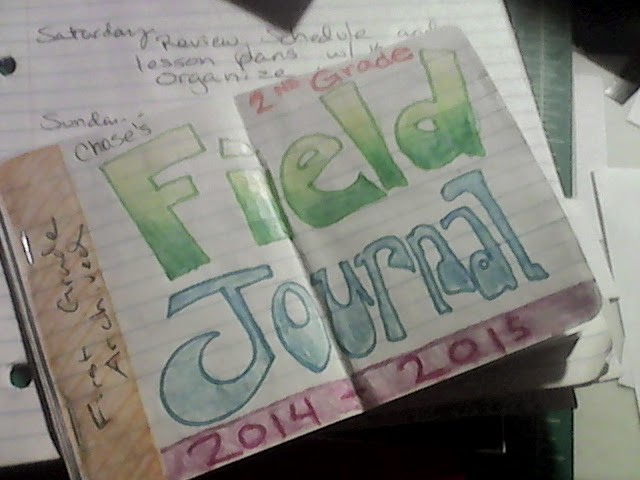
Above is the Field Journal, which will be used for grocery and library trips and anywhere else we might go.  It is a mini journal with 3"x4" pages.  The perfect size for small print outs.  I may be making some custom ones.  I'll need to do a journal post soon.  I've made him such wonderful journals.  I got to introduce him to them all today and he is most excited about his "Wreck This Journal, Please" one.  Inspired by "Wreck This Journal", which he saw and wanted so badly, I had to make him one.


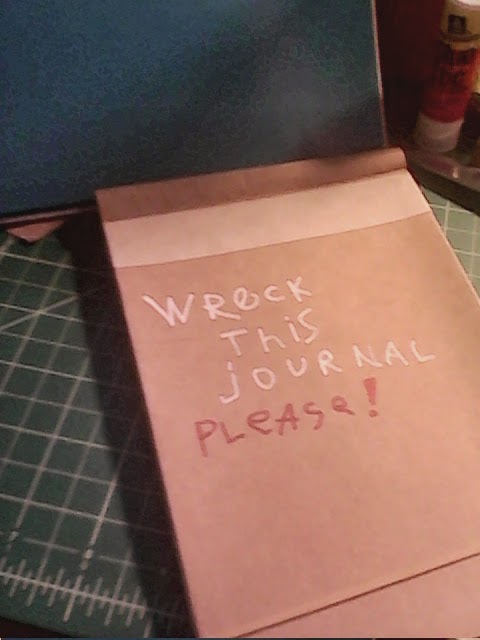
I halved a spiral notebook.  This was a long process of snipping the wire, then cutting through several pages at a time with an exacto knife.  My paper cutter would not handle such a task. and I would have had to look for the big cutter.  It might not do a nice job, since it was used on shingles.  I used a paper grocery bag for the cover and he wrote the letters which I inked in the colors of his choosing.  On the inside, I have been adding creative ways for him to begin wrecking!  I've told him he can write all over the paper bag surface.  Boy did his eyes light up!

 These pictures are all taken with our new NeuTab N7 7''.  It's great for the price.  An Android device.  A little on the slow side, but such an incentive for Chase.  He is super excited about using it.  He only needs two more hole punches on his reward tickets to earn his first scratcher ticket.  I've printed out about 30 of my scratch card designs.  I used the color ones with white bg.  The others would likely be too much for my poor printer to handle.  Those are more meant for digital layouts rather than printing pages.


Speaking of the scratch tickets, here's how I made them.  First batch I used just silver paint with the dish soap, which is really transparent and thin.  So, I added a dab of black and it covered beautifully.  Only took 2-3 coats.

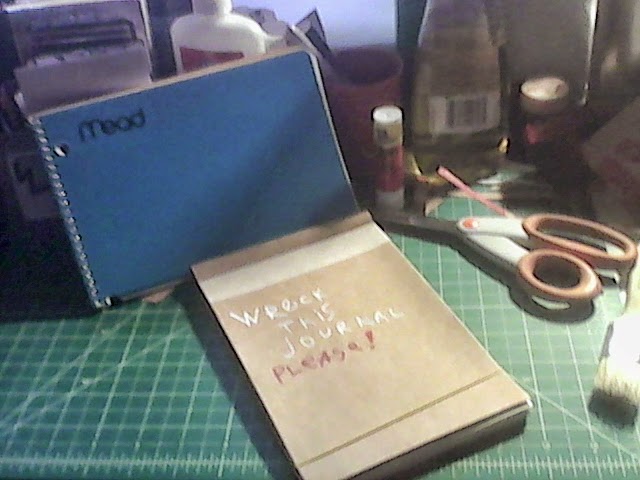
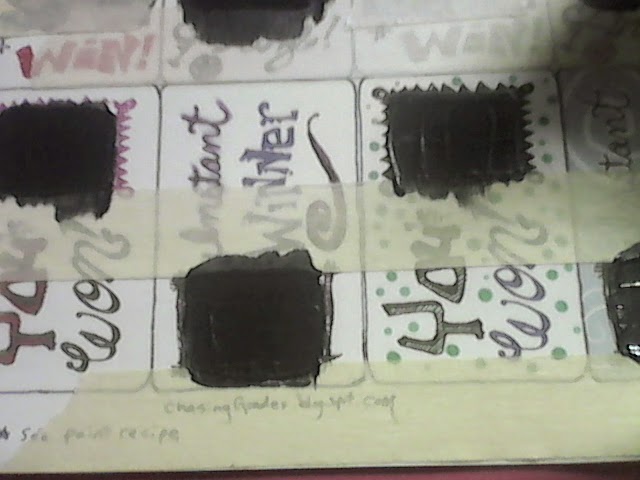
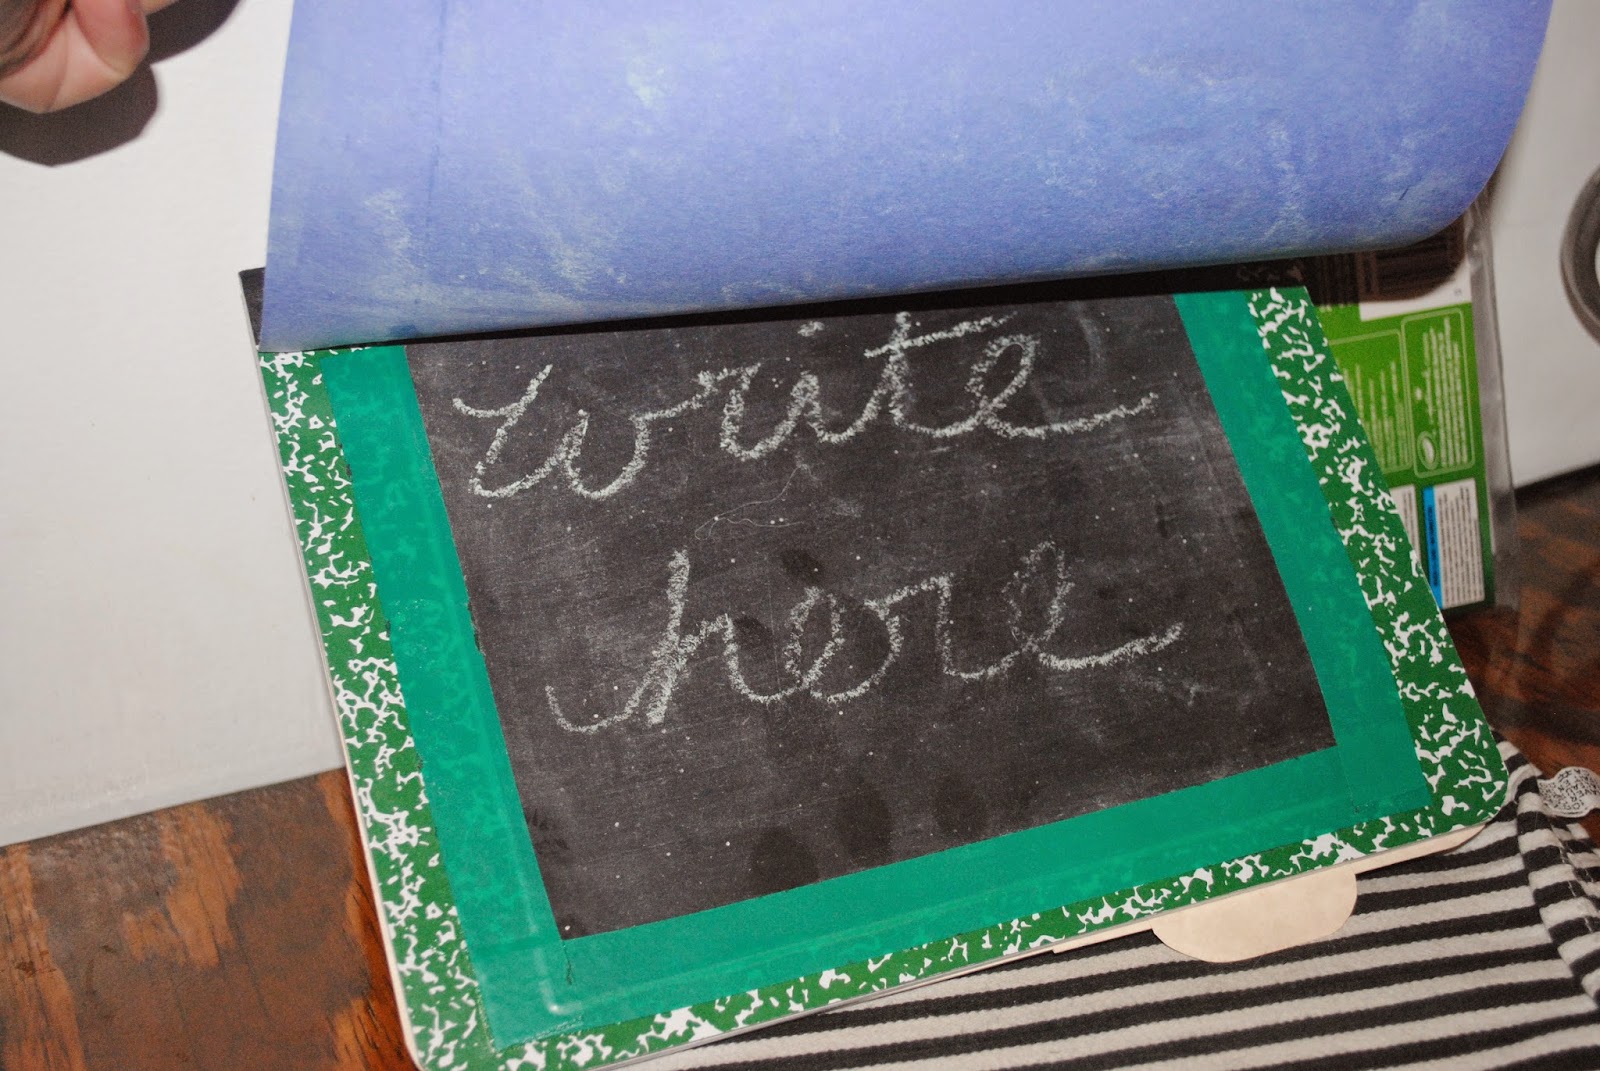
Okay, first, I printed out my sheets on cardstock.  Then I cut up some white labels and wrote the prizes on each.  I Put one in each box and used packing tape to laminate.  If you laminate properly, then you should get long life out of your cards, to reuse after they've been scratched off to redo the scratch paint.

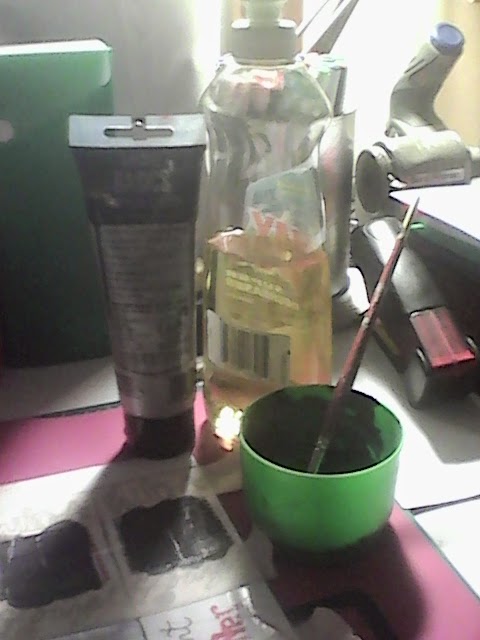
I mixed my paint, acrylic silver, a small amount of black, and a drop or two of dish soap.  Mix until fully incorporated.  You can use any color you like, I recommend metallic ones as they will be the coolest!  But for holidays, it might be fun to mix up some colorful ones.  Dry between each coat.  I used a blow drier to speed up the process.  I masked out my second batch, it made them neater, however, I had to peel the tape at an angle to not peel off the paint entirely.  The first batch, I used my JoAnn Teacher Appreciation card to straighten the sides by pressing against the edges.  Or, you can leave it just as sloppy as you painted it!  ;D

Then I cut them out and laid them out to dry overnight to ensure they don't all stick together.  The cards look great.  (why didn't I take a picture?)  They fit into an old crayon box perfectly.  I've explained the rewards system so he is eager to behave well and earn those tickets!  I can't wait for him to scratch one off as well.

Oh my, it is late!  Recap, first day of school was great.  He was super excited about the tablet and brownie party and rewards.  He loved his new journals (I'll post those up soon, they look wonderful).  He got a little bored doing worksheets and writing work (the most dreaded thing ever) but he still had a good attitude and I tried to keep him motivated.  I used ClassDojo to track his behavior on the tablet.  They have a handy app.  I'll let him edit his avatar so he can enjoy it more.

p.s. There might be something awesome happening on the 20th, but I cannot say yet.  It is a secret still.  

Tuesday, August 5, 2014

Place Value on Sale "BTS14"


I've just added a new item to my TeachersPayTeachers store in time for the Blast Off Back to School sale.  Use the promo code "BTS14" for 20% off savings!  The new listing is Party Favors Place Value Flapbooks, a foldable for math interactive notebooks.  This is aligned with the common core standards 2.NBT.1, 2.NBT.1a, and 2.NBT.1b.

This set features my Party Favors Clip Art, which is available free to use on my TpT site.

Blast Off Back to School Ends Soon!

Only 7 hours left to save on TeachersPayTeachers' back to school sale. 

Save on EVERYTHING from Aug 4-5!

Sale runs Aug 4, 12:01 am ET - Aug 5, 11:59 pm ET

Here's How It Works:

  1. Use promo code BTS14 for 10% off everything except gift certificates and purchases made with PO
  2. Save even more with Sellers who join the sale for up to 28% off of resources!
  3. Fill your cart! Sale is ON Monday Aug 4, 12:01 a.m. ET through Aug 5, 11:59 p.m. ET

You must enter promo code: BTS14
when you check out to save!

Sunday, August 3, 2014

TpT Revamped - New Items + Freebies


New Products and Sale!

I've updated all my listings to match the style of Chasing Grades.  And added a few new listings, one for purchase and two freebies.  The first here is a set of Scratcher Tickets/Reward Coupons.  The Scratch Tickets are only $2, but tomorrow they go on sale!  Everything will be 20% off the already low prices on August 4th&5th for TpT's Blast Off Back To School Sale.  Scratch tickets are a really fun way to give out mystery prizes to be won.  And it's super easy to make.  All you need is packing tape, acrylic paint and a bit of dish soap.  Nothing fancy.  Of course, you could buy scratch stickers to save time.  Here's a nifty video to do the do-it-yourself method.  I've just added an Amazon Associate's Store to my blog.  I'll be adding useful school things and suggested buys there.  If you buy through Amazon.com, using my referrer code benefits our homeschool.


What's New?

I've been tailoring an Amazon associate's store to coordinate with this blog.  Actually, I've been slowly making my entire web presence in this theme.  It's my favorite CSS design so far.  Reminds me of crushed velvet.  I may add more fancy embellishments to the layout later on, but I like the simple layout.  Not too cluttered.  

So all my listings on TeachersPayTeachers also have this look.  I think it looks a lot more pulled together.  The paper pack still has the same thumbnail, but I think I'll keep all paper packs like that.  Just a band around it with the blog name.  I hope it is not confusing that the blog name is "Chasing Grades" but the store is GillianIvy.  I made the store before the blog.  And my entire web presence can be found by searching for GillianIvy.  So for those interested in my art and social networks, they can easily find me.

Are These the Freebies You Were Looking For?

Sorry for all my long-winded chattering, at long last, here are the free things.  I had these tucked away in a folder for a long time and they just needed preview images!  Silly me.  So, I've given them the makeover and put them up in my TpT store.  

The first is a handy Homeschool Verification Card.  Just write in your homeschool identification number and your info, then laminate the card to keep in your wallet.  Then you may use it when you're shopping at places that offer teacher discounts to homeschoolers.  I know JoAnn Fabrics does and they actually have a surprisingly wonderful selection of teaching accessories.  I was amazed by all they have in their store.  I had been looking through office stores and Walgreen's, etc to try to find these locally, so it was great to find them there.

And the second is a creative writing exercise featuring our cat, Xander.  He rolls onto his back and sometimes snores and his lil' paws twitch when he sleeps.  What is Xander's Dream?  This was made to acompany the mini-book X is For Xander, which Is the first item shared in my TpT store.  I've meant to share this a long time ago, but hadn't gotten around to it.  Wanted to have my store stocked in time for the Back to School say which is starting tomorrow!

I have a policy to keep all my items cheap.  Since they are digital products, it costs me nothing to reproduce.  The lowest I can price items and receive profit is between $1-$3.  I will be trying to keep all my  items within that price range.  They are all hand drawn by myself.  The paper pack is designed from my own stock textures.  A lot of time has been put into the creation of all of my merchandise and I hope it shows with the quality of my products.  

I am still new to sharing my work digitally, so I don't always know the best method for compiling the files pdf or zip packs...  I like the pdf files best.  But I use GoogleDrive to make them and it isn't as easy that way.  I plan to be making a lot more resources, clip arts and texture packs as well as Interactive Notebook worksheets, so follow me on TeachersPayTeachers to get updates on my new listings.  And I'll definitely be adding more freebies ;D


Friday, August 1, 2014

Interactive Notebooking - Math

Woohoo, I've gotten 5 assignments readied in Chase's Math notebook. Seventeen days til' school starts... Goal - two weeks worth of work prepared... Hopefully, we can get the printer fully operational so I can print out the collection of freebies I've been gathering. I use all those worksheets for notebooking. So, want to see what I've got so far? Don't let the ordinary cover fool you! First day of school, I plan to have him decorate this. Maybe with some aluminum tape and go to town with my metal embossing tools... Or let him art it up in some other way. I don't have fancy papers though. But maybe if we can get the printer to be awesome, we can print our own.

The first thing I did was watch several tutorials on making pocket folder inserts for notebooks. So, I added one to the front of the book and one to the middle as a divider. This is a one subject book, but it will be handy later on in the year when he needs to flip to the back right away. The front pocket contains a piece of cardstock to use as a page saver, to go behind pages he's writing on so as to not poke through. Since pages will have fold out things and flip books, etc, there will be lots of problems with writing without making holes. On the back of this divider is the first Table of Contents. As more are needed, then I'll add in another divider. Opposite the Contents is a chalkboard! I found a blog post on Come Together Kids about making your own paper chalkboards and it's super easy and really works. I just glued it in place and it is ready to go. He can use it for notes or scratch paper, or doodling! There's another secret one on the back.  It has a cover flap to prevent getting chalk all over everything and keeps the writing from smudging.


The assignments are on place values and 3 part word problems.  I made the subject be Star Wars to go with the workbooks we bought.  They're really great, though a bit thin on workload.  For place values, I have a chart with flip up sections.  Across from it is a flipbook of place values.  He would mark each page as being 100-200-300 so on, either by coloring it or using a sticker.  Not 100 stickers in each, I'd be out of stickers and the page would be a mess.  He would write the qty on the front of the booklet.  I'm making a printable version of this with my party theme art on TeachersPayTeachers.


More place value work, just some labels for the squares, color coded them to keep him on track with HTO.  And finally, a place value slider.  I used some cardstock to make these.  The cardstock I used is from Core-dinations, I had won this sampler pack from JoAnn Fabrics several years ago now.  They are perfect for making bookmarks, and perfect for little projects like this.  I cut it to just short of my paper and used the cut off for the mount.  I measured how big the opening should be and it perfectly came out to how many I needed.  On the next page are some task cards, just index cards with mini place value assignments.

I'm sure I spent more time making these than he'll spend doing them.  Well, he better not spend that long!